首先,感谢社区里的雪麒大佬的tf.wiki项目,真的省得我一遍一遍地解释了,
不愿意看文档的小混蛋们就去看大佬的这篇文章,我这篇就来说说在windows下部署的坑。
一如既往,先从TL;DR开始。
0x00 TL;DR
- 一如既往,推荐使用MiniConda + VS Code + conda env的方式在windows下部署。
- 如果是N卡(MX150)用户,推荐用conda安装cudatoolkit和cudnn,剩下安装vs-buildtool和手装cuda的麻烦…
- pytorch推荐直接官方通道(清华源有镜像)。
- tensorflow-gpu用pip安装就行,注意cuda版本。
- 不要在键盘边的时候吃东西…特别是有渣子的…清理贼费事。
0x01 安装 Conda && 创建虚拟环境
Miniconda 安装完成后要把镜像换为国内源,
conda源需要这样操作:
先执行 conda config –set show_channel_urls yes 生成.condarc。
用记事本打开.condarc(在“C:\Users\用户名”里),修改为以下内容:
1 | channels: |
pip源如下操作:
运行 pip config set global.index-url https://pypi.tuna.tsinghua.edu.cn/simple
- 使用 Miniconda 自带的 conda 包管理器建立一个 Conda 虚拟环境,并进入该虚拟环境。
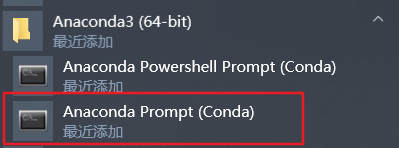
在Anaconda Prompt下输入:
1 | conda create --name tensor python=3.7 # “tensor”是你建立的Conda虚拟环境[tensorflow框架]的名字 |
0x02 tensorflow-gpu 2.0 安装
- 首先,conda activate tensor 进入 tensor 虚拟环境
- 输入 conda install cudatoolkit=10.0 cudnn numba 确认即可
- 安装完成之后,pip install tensorflow即可
- conda deactivate 退出虚拟环境即可
完成验证: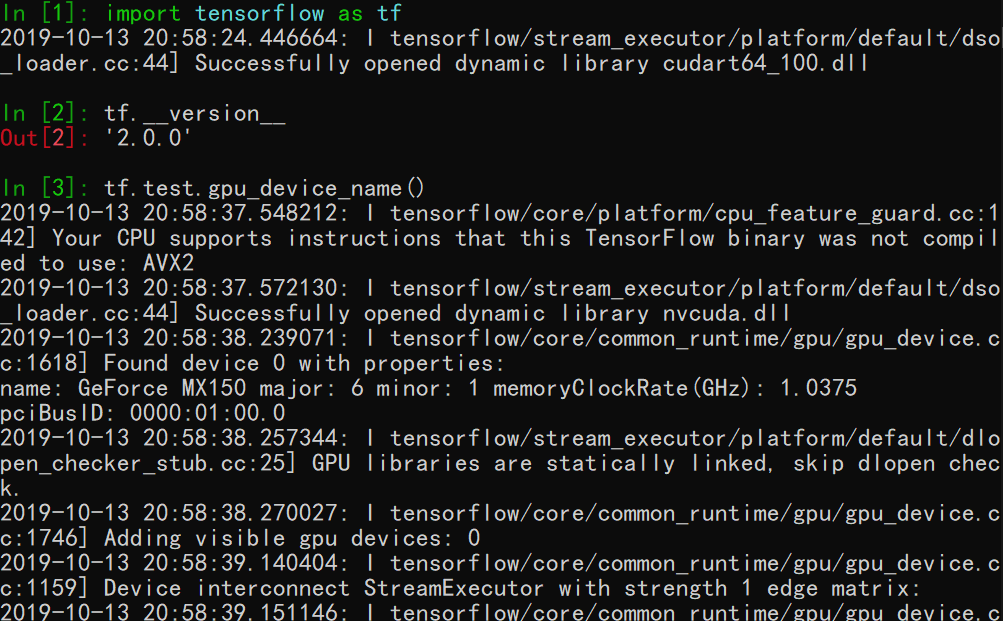
0x03 pytorch 1.2 安装
- 首先,conda activate fastai 进入 pytorch 虚拟环境
- 输入 conda install cudatoolkit=10.0 cudnn numba 确认
- conda install pytorch torchvision cudatoolkit=10.0 -c pytorch
- conda install -c pytorch -c fastai fastai
完成效果: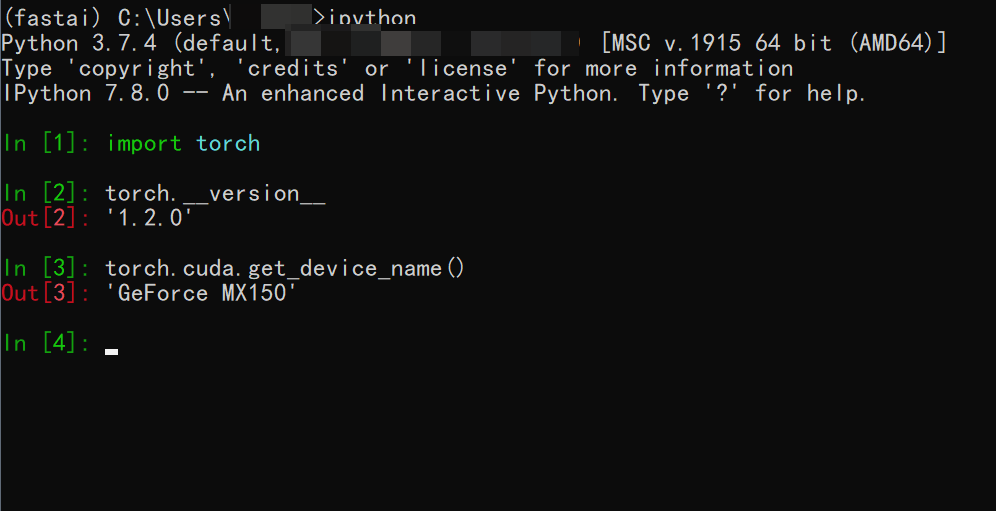
0x04 vs code + jupyter notebook 安装 && 踩坑
vs code 配合 我已经在讲wsl里讲过了,主要讲协同jupyter notebook。
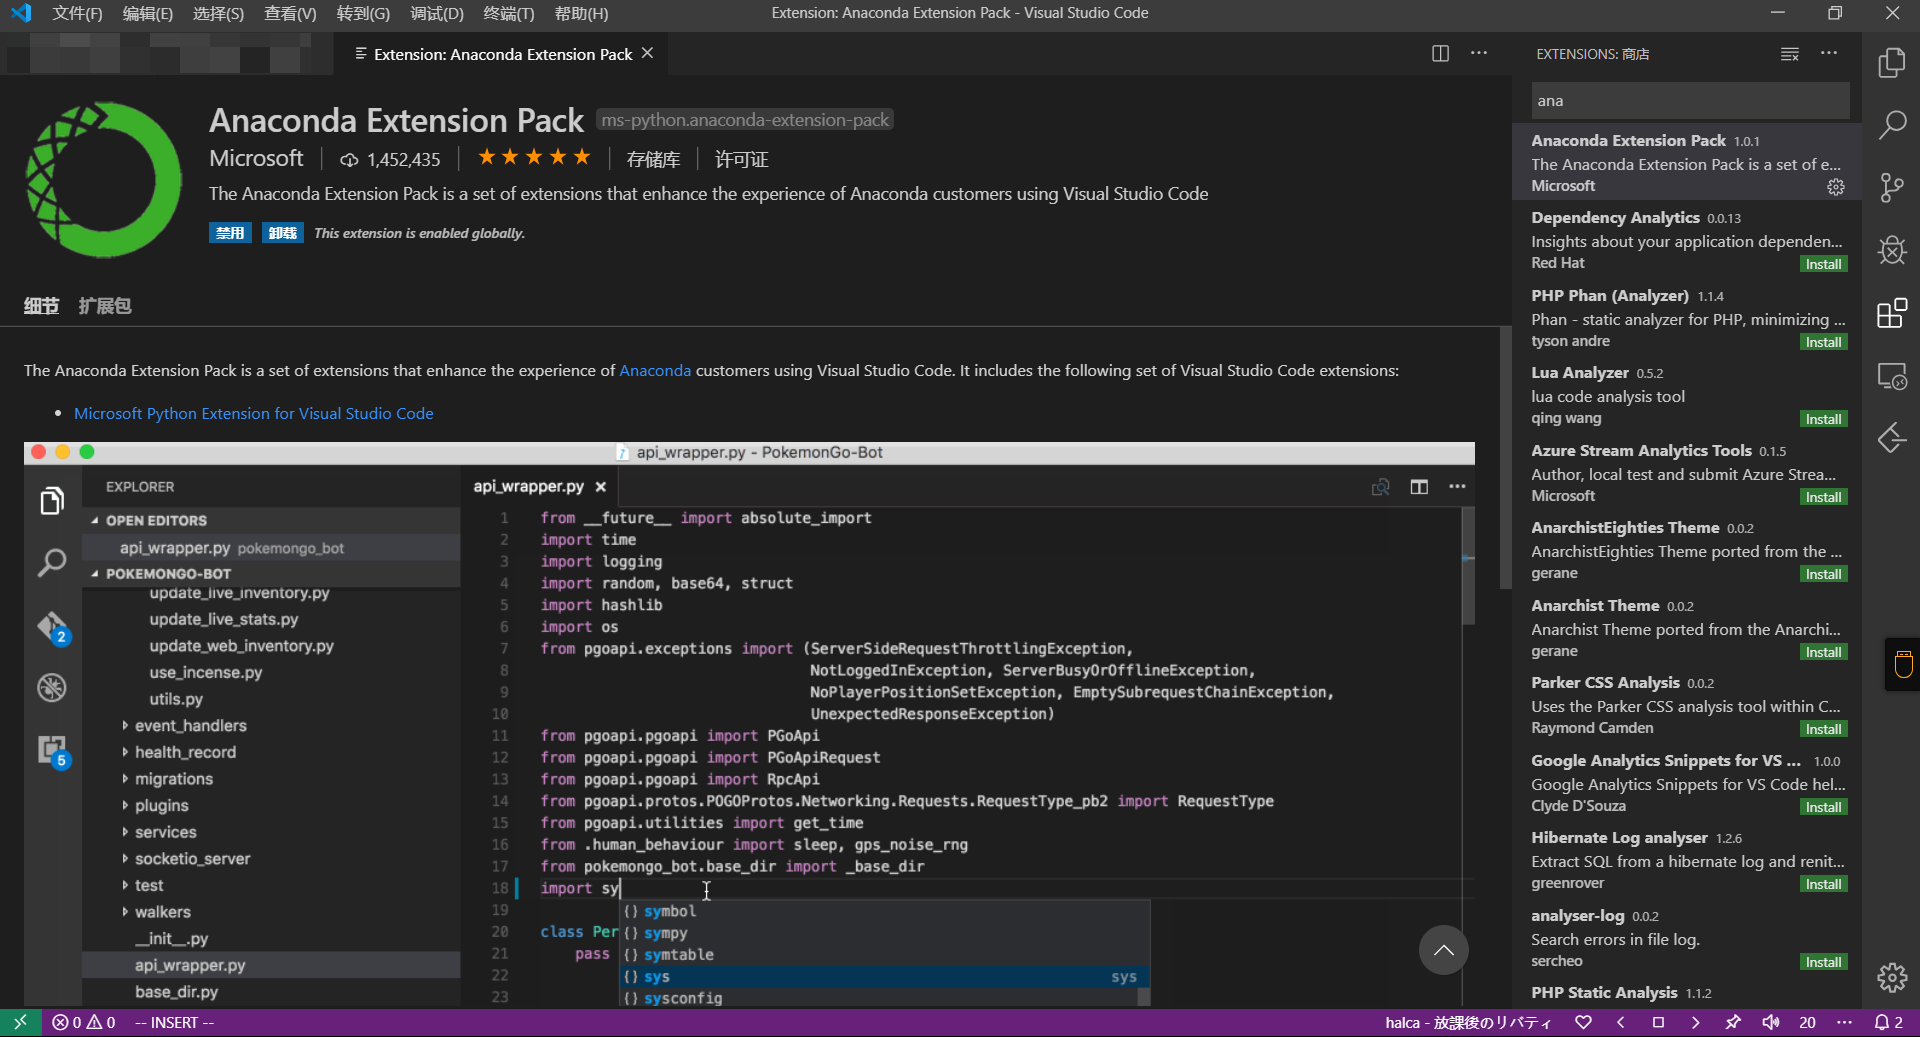
先安装此插件,会自动安装Python扩展。
安装完成后分别进入虚拟环境安装jupyter(pip install jupyter)
安装后启动发现jupyter notebook无法运行.ipynb
(报错:import win32api ImportError: DLL load failed: The specified path is invalid.)
问题出在pywin32这个包版本上,替换问早期版本即可(pip install pywin32==223)
开心的享受学习(划掉)炼丹之旅吧